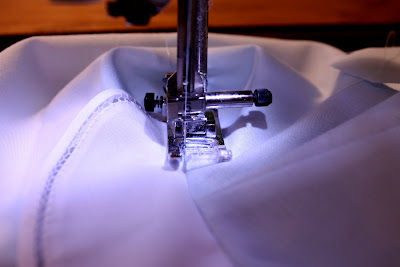
Our most frequently asked question is about the self lined yoke. It can be tricky the first time, but once you've tried it the results are nice since it eliminates some bulky seams. Work through your pattern until you get to this stage. Remember the back yoke and back yoke linings are one piece attached by the Fold Line. I like to press the Fold Line before assembling to help me keep track of it. In this photo you can see the Fold Line right past the back of the collars. The fabric beyond the pressed Fold Line are the Yoke Linings. The shoulder seams of the Front Yoke and Back Yokes are stitched together, along with the shoulder seam of the Front Yoke Lining and Back Yoke Linings.
The collars are tacked together along the 5/8" seam allowance, then basted to the yoke.

Next, the lining is folded over on top of the yoke, sandwiching the collar in between. The shoulder seams are matched up and the back opening is on the fold. I then stitch around the neck opening and trimmed and clipped the seam.


Understitching the neck opening is then done to keep the lining from rolling out to the right side of the garment. I have opened up the lining and the yoke, so that I am only stitching through the yoke lining and the seam, close to the edge. You are seeing the lining and the underside of the collar in this picture.
This can be a little confusing, but I fell in love with this technique the first time that I tried it years ago. I love not having to fool with a tiny bias strip and that the yoke is lined!


